Self-Service Upload Guide
Step-by-step instructions for uploading data via the Data Manager portal.
1. Logging In
- Open the Data Manager URL in your browser.
- You will see the Sign In page.
- Enter your email address and click Send Login Code.
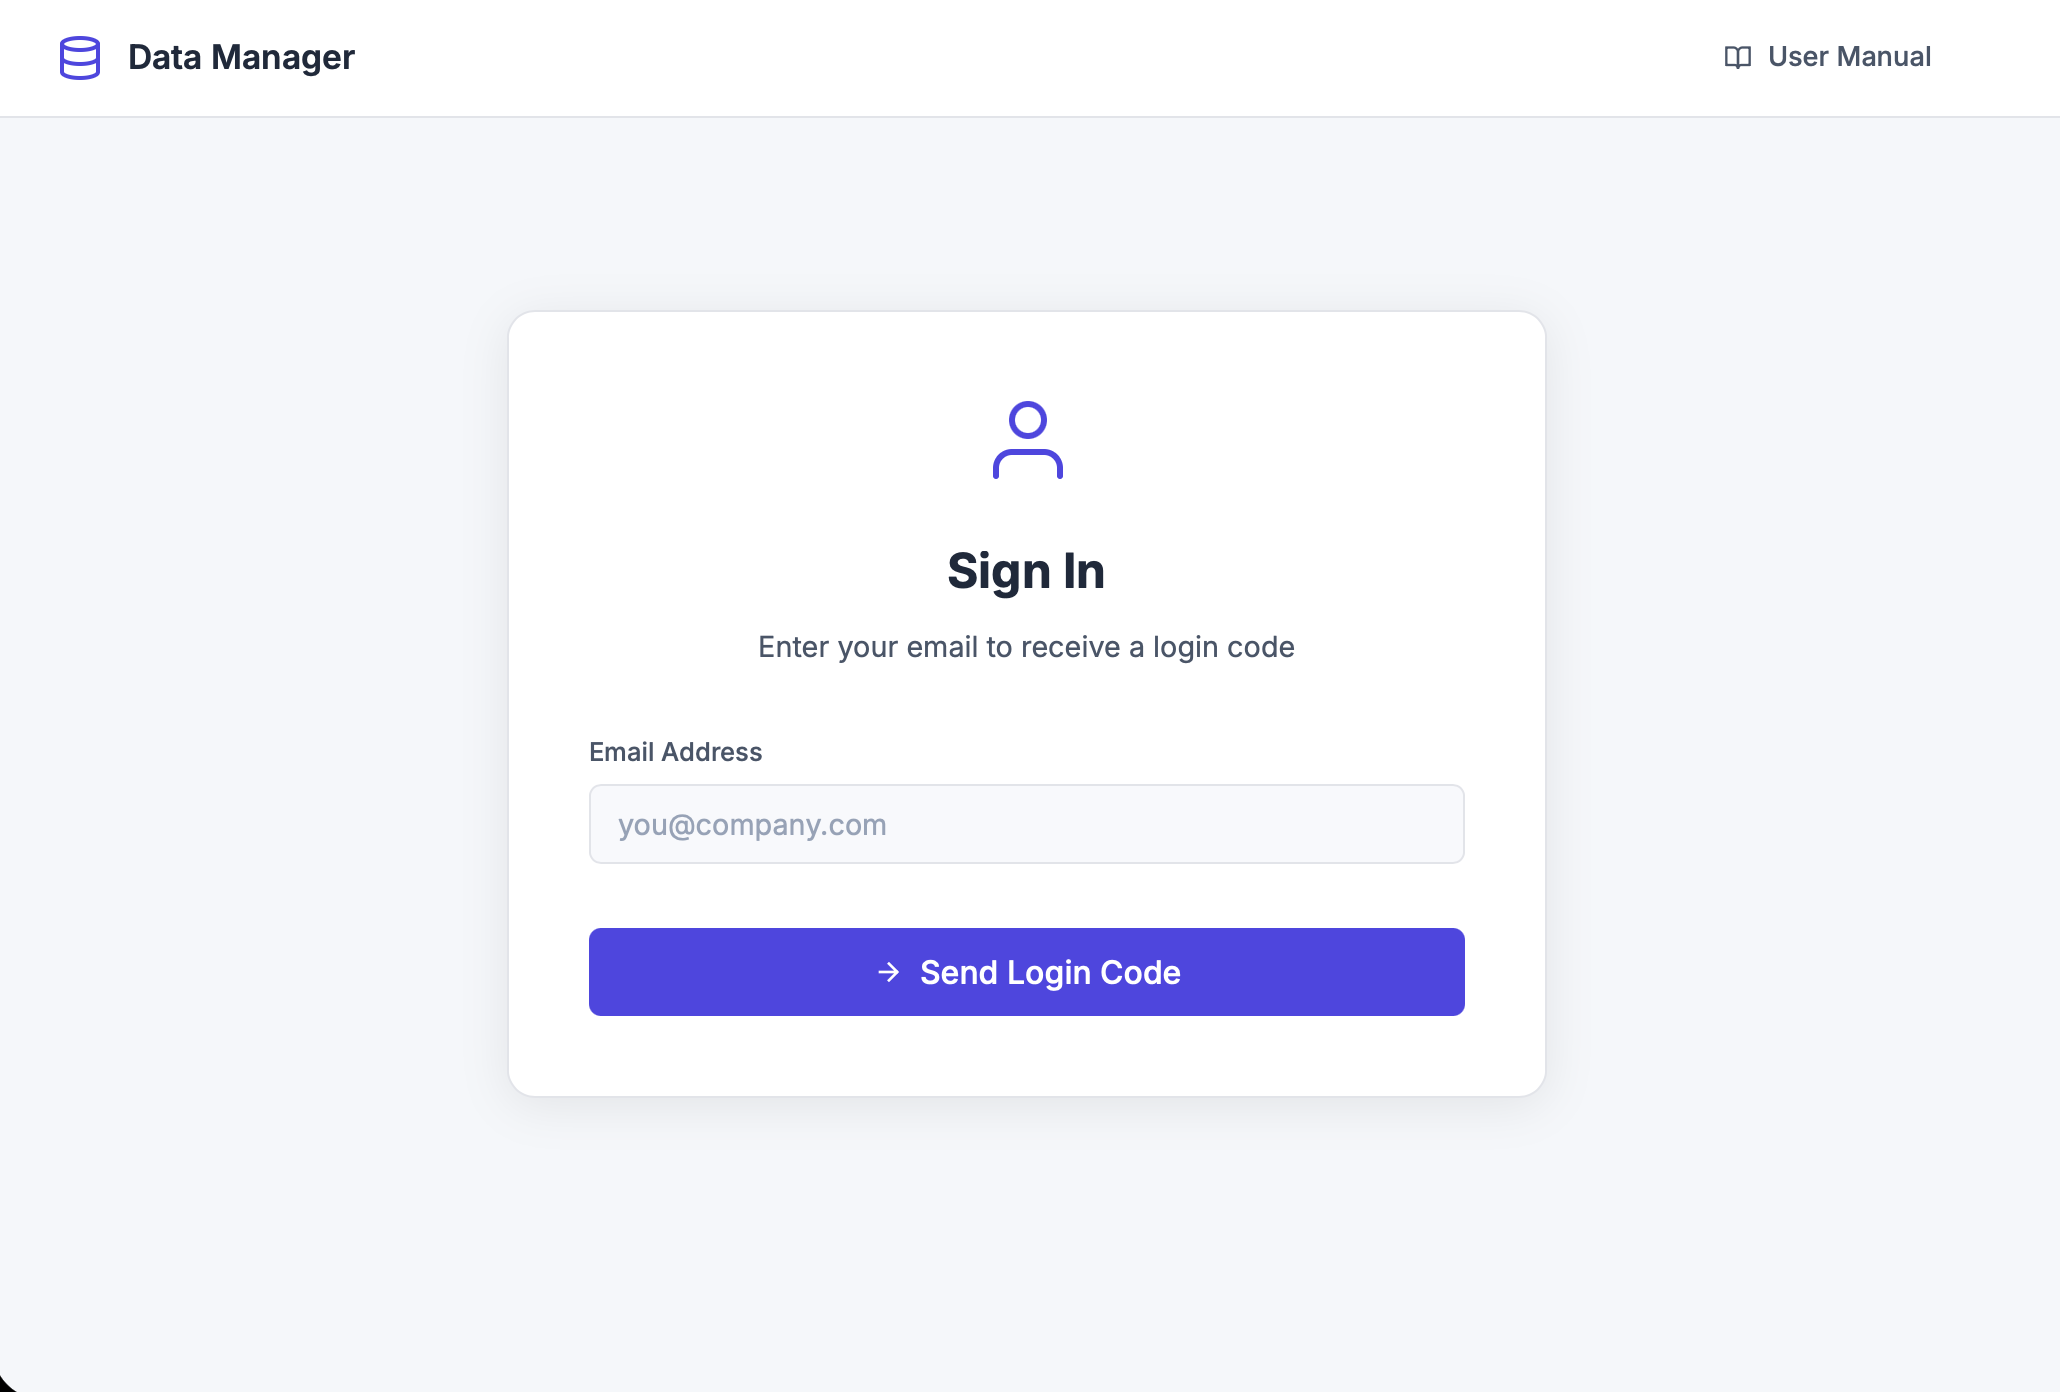 The Sign In page — enter your email to receive a login code
- Check your email inbox — you will receive a 6-digit login code.
- Enter the code and click Verify & Sign In.
- If the code is correct you will be redirected to the Dashboard.
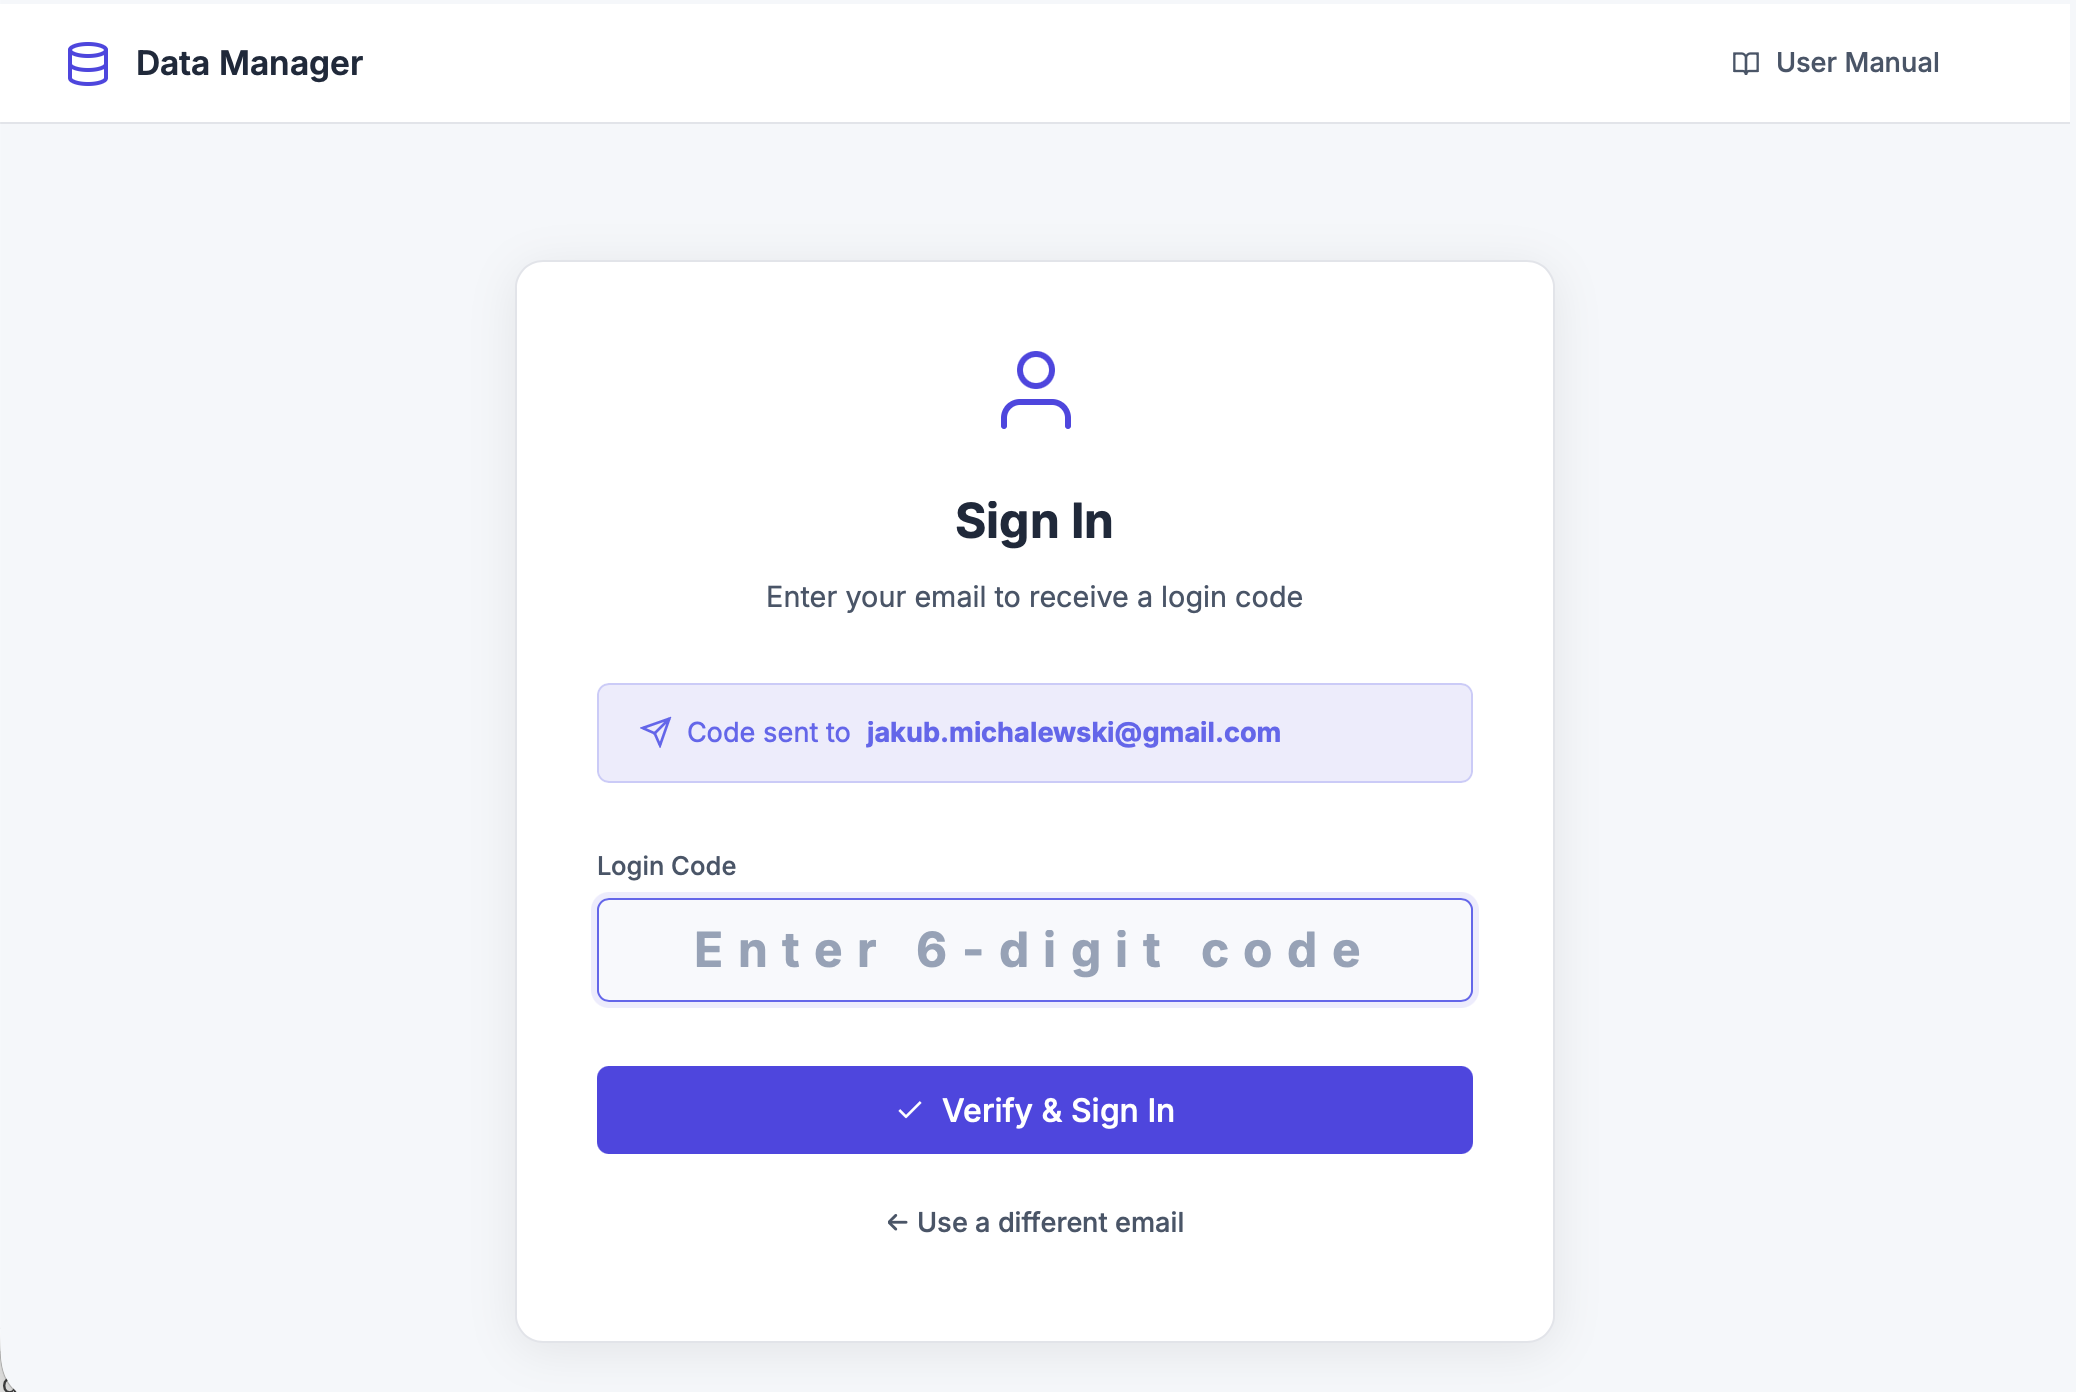 Enter the 6-digit code sent to your email
2. Choosing a Template
Once signed in you land on the Self Service Dashboard.
- You will see a grid of template tiles — each shows the template name and server.
- Click a tile to open that template’s upload page.
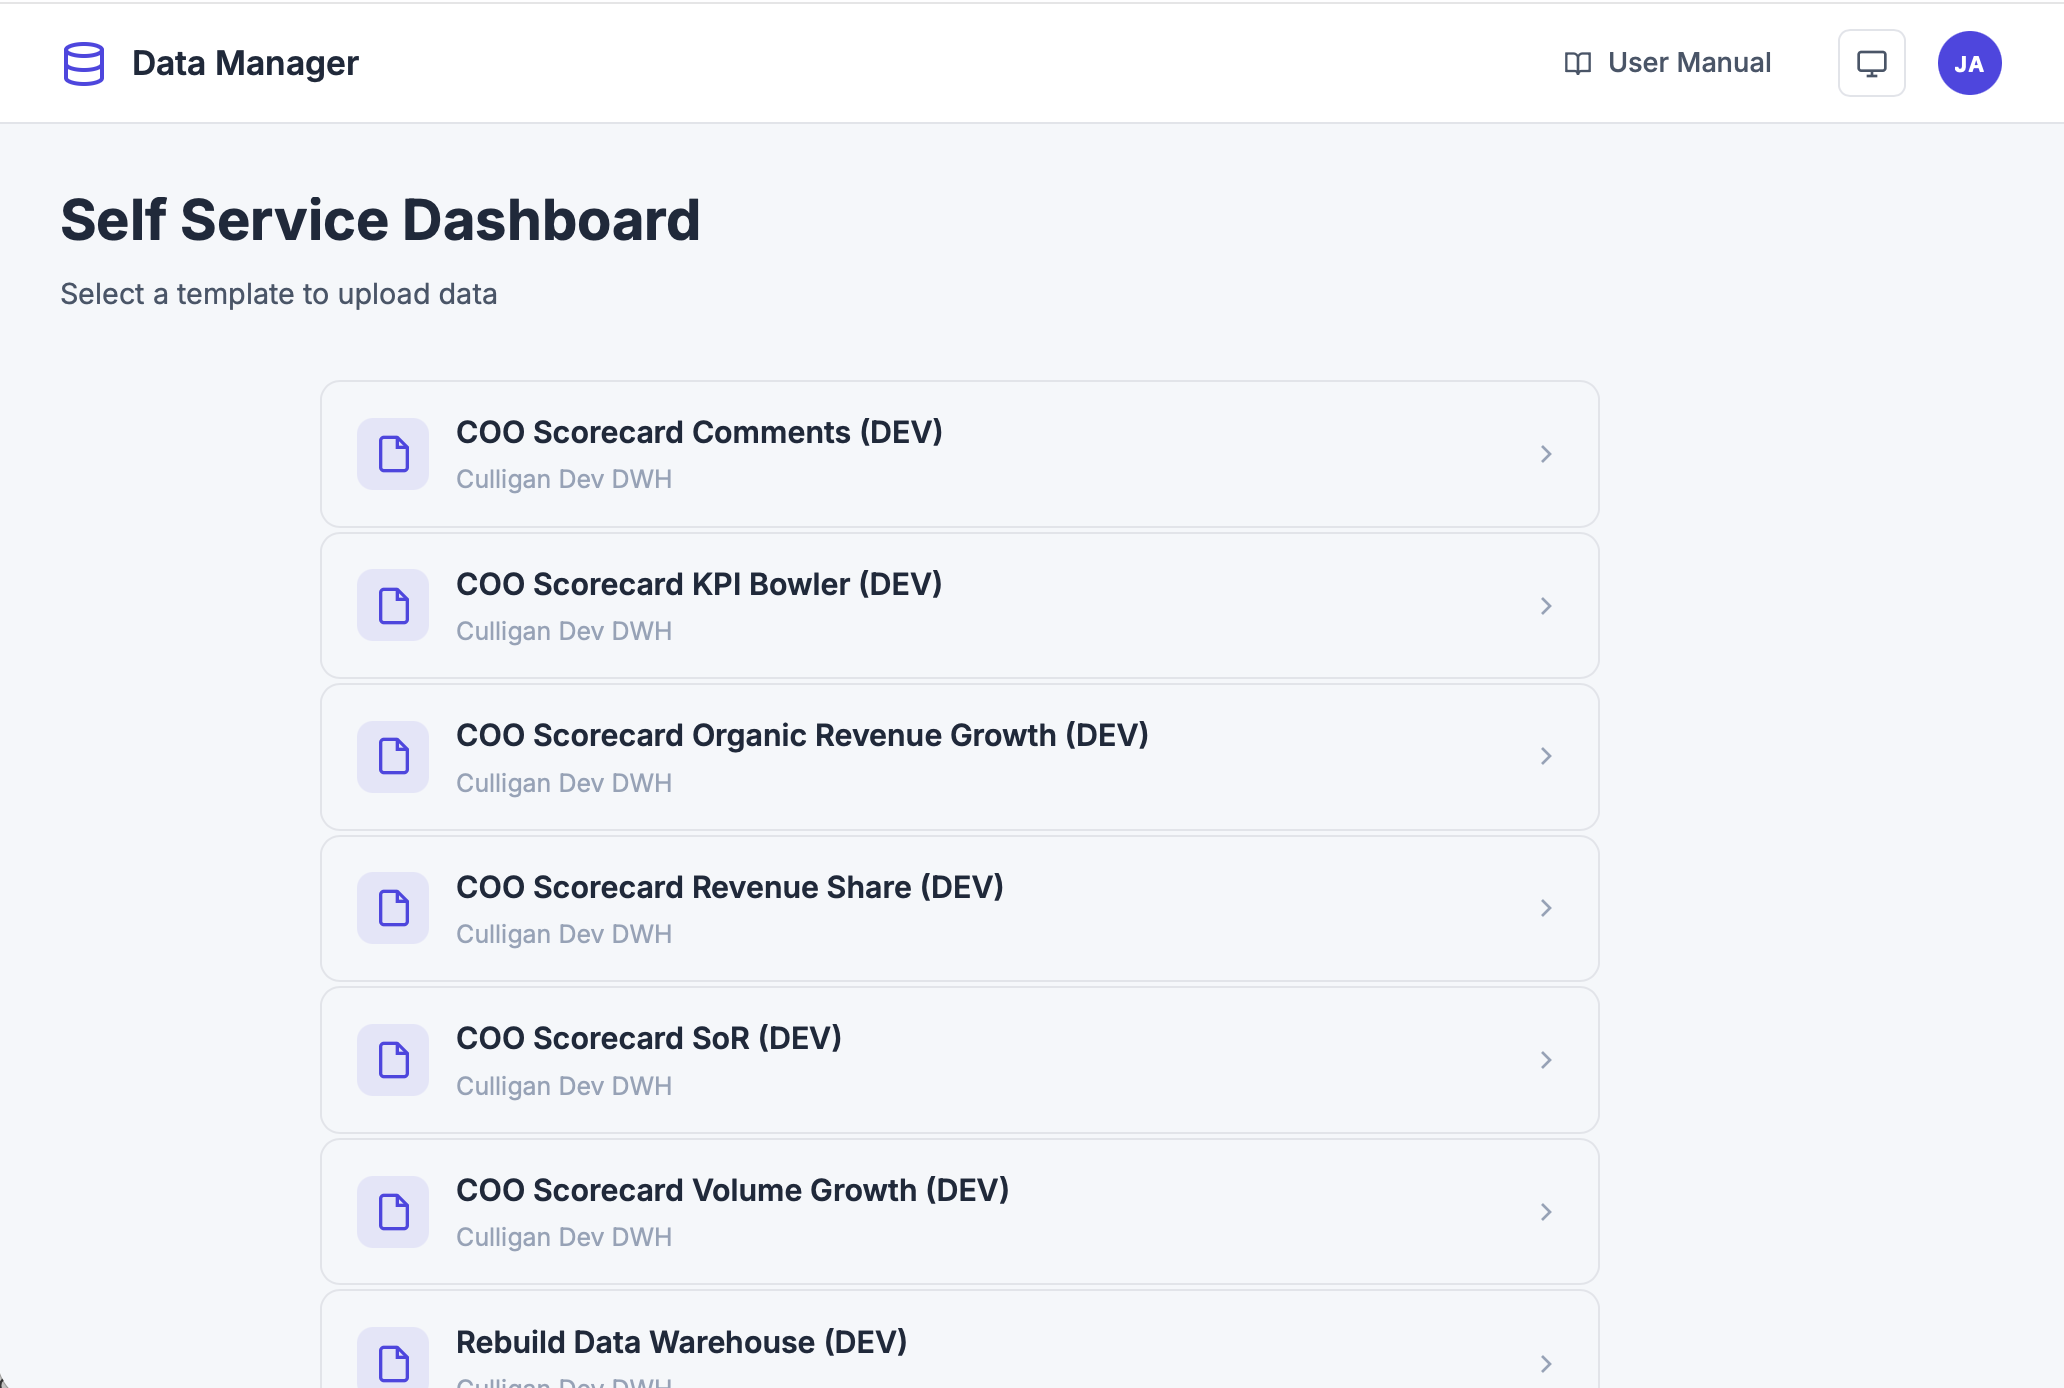 The Self Service Dashboard — click a template tile to begin
3. Upload Types
Common First Steps (All Types)
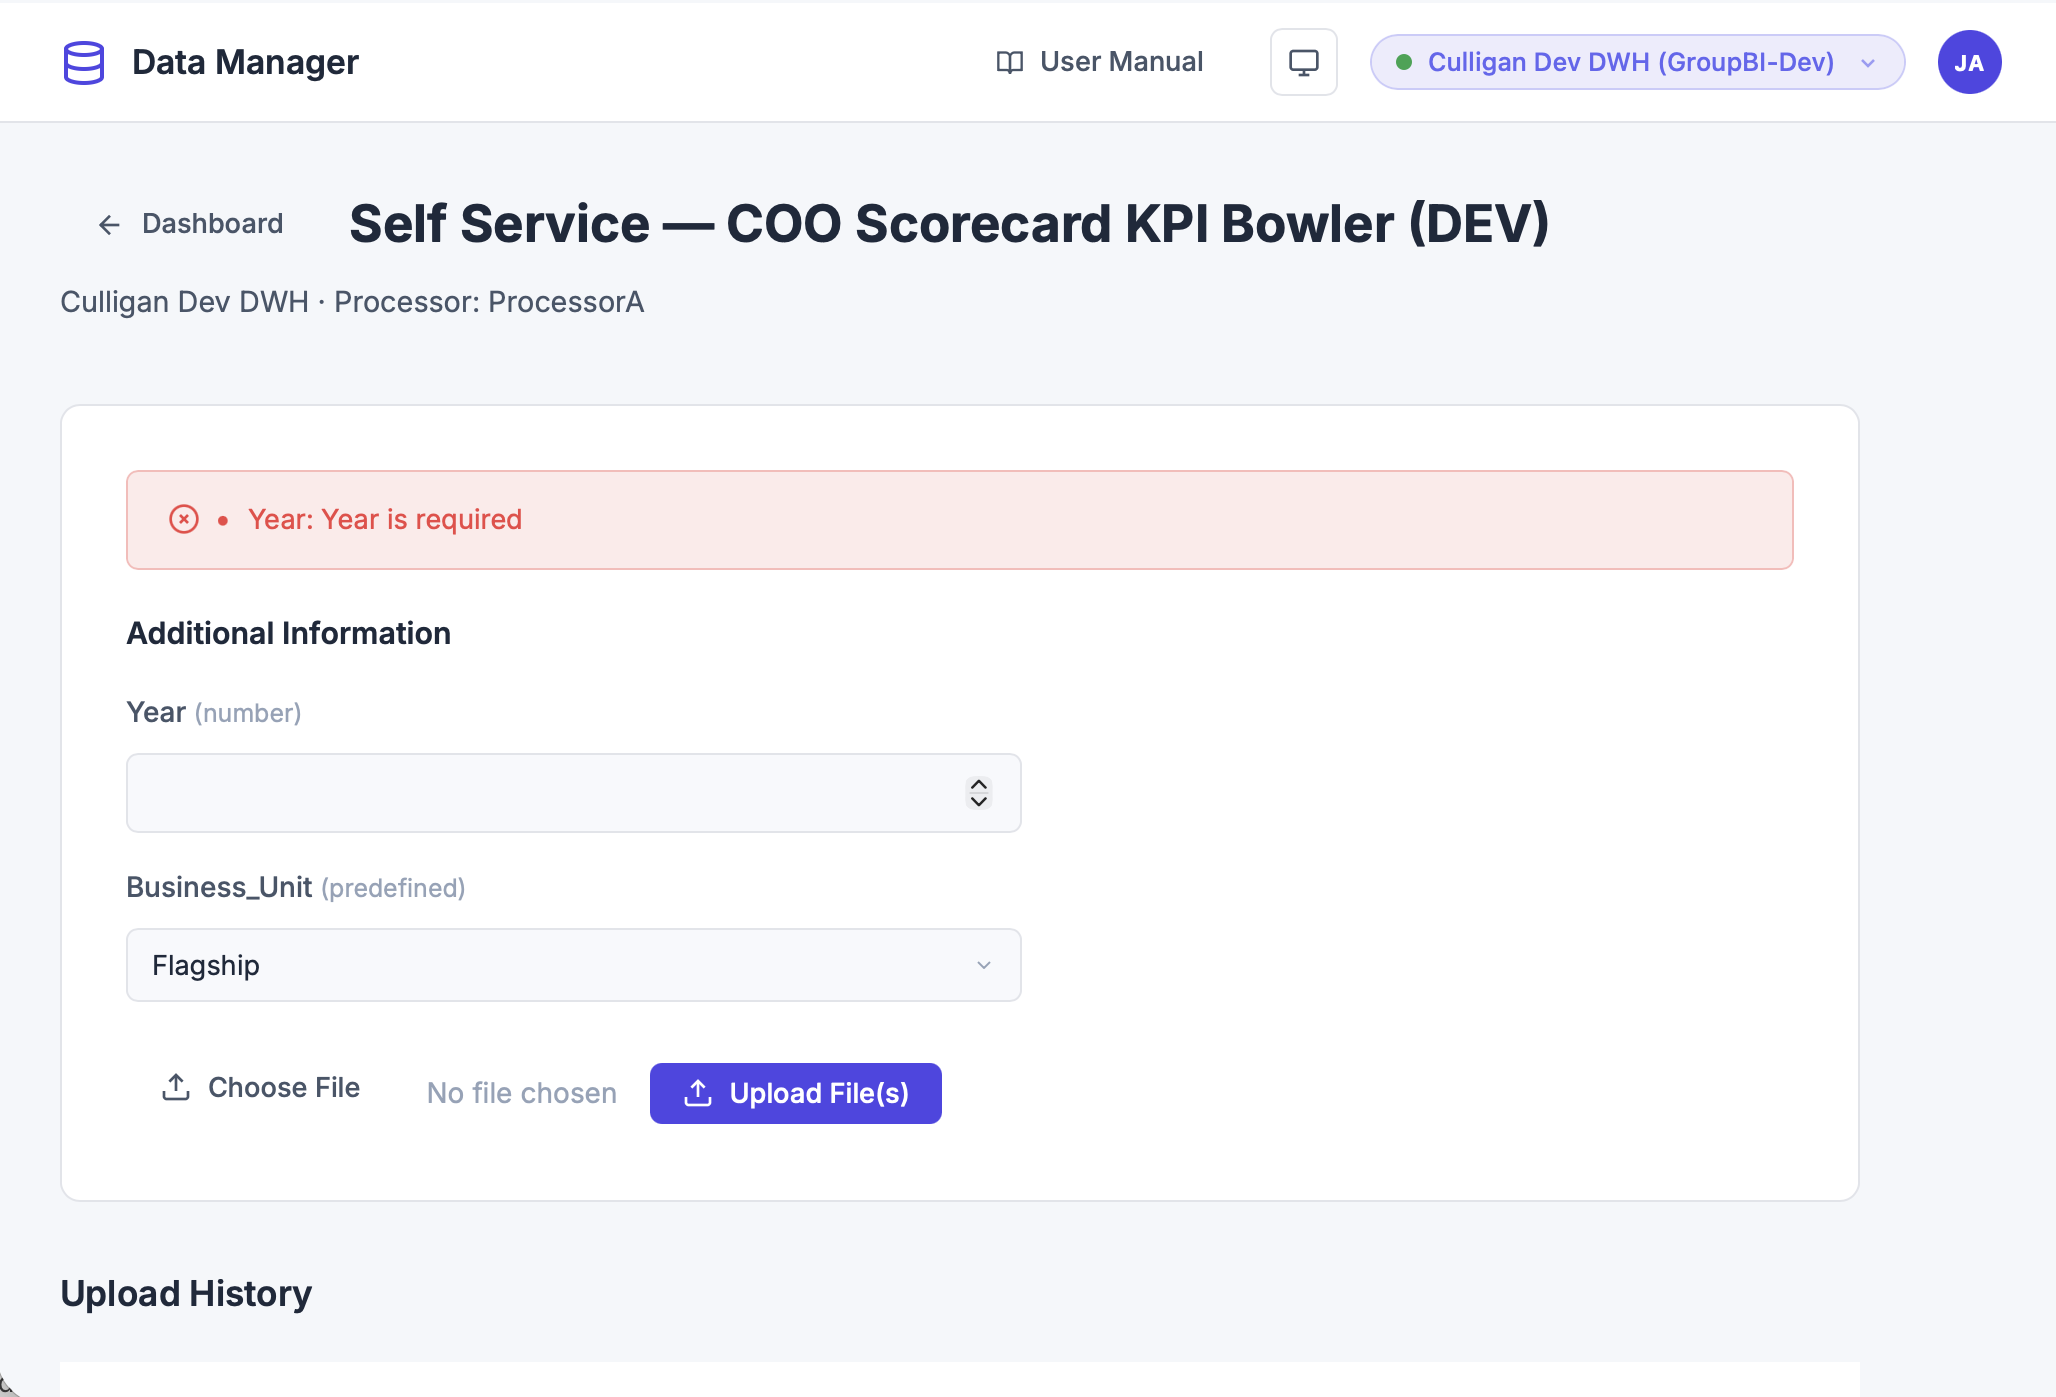
- If the template has Additional Information fields (metadata), fill them in first.
- Click Choose File to select your
.xlsxor.csvfile. - The selected file name appears next to the button.
- Click Upload File(s) to begin processing.
- A loading overlay (“Processing, please wait…”) appears while the file is processed.
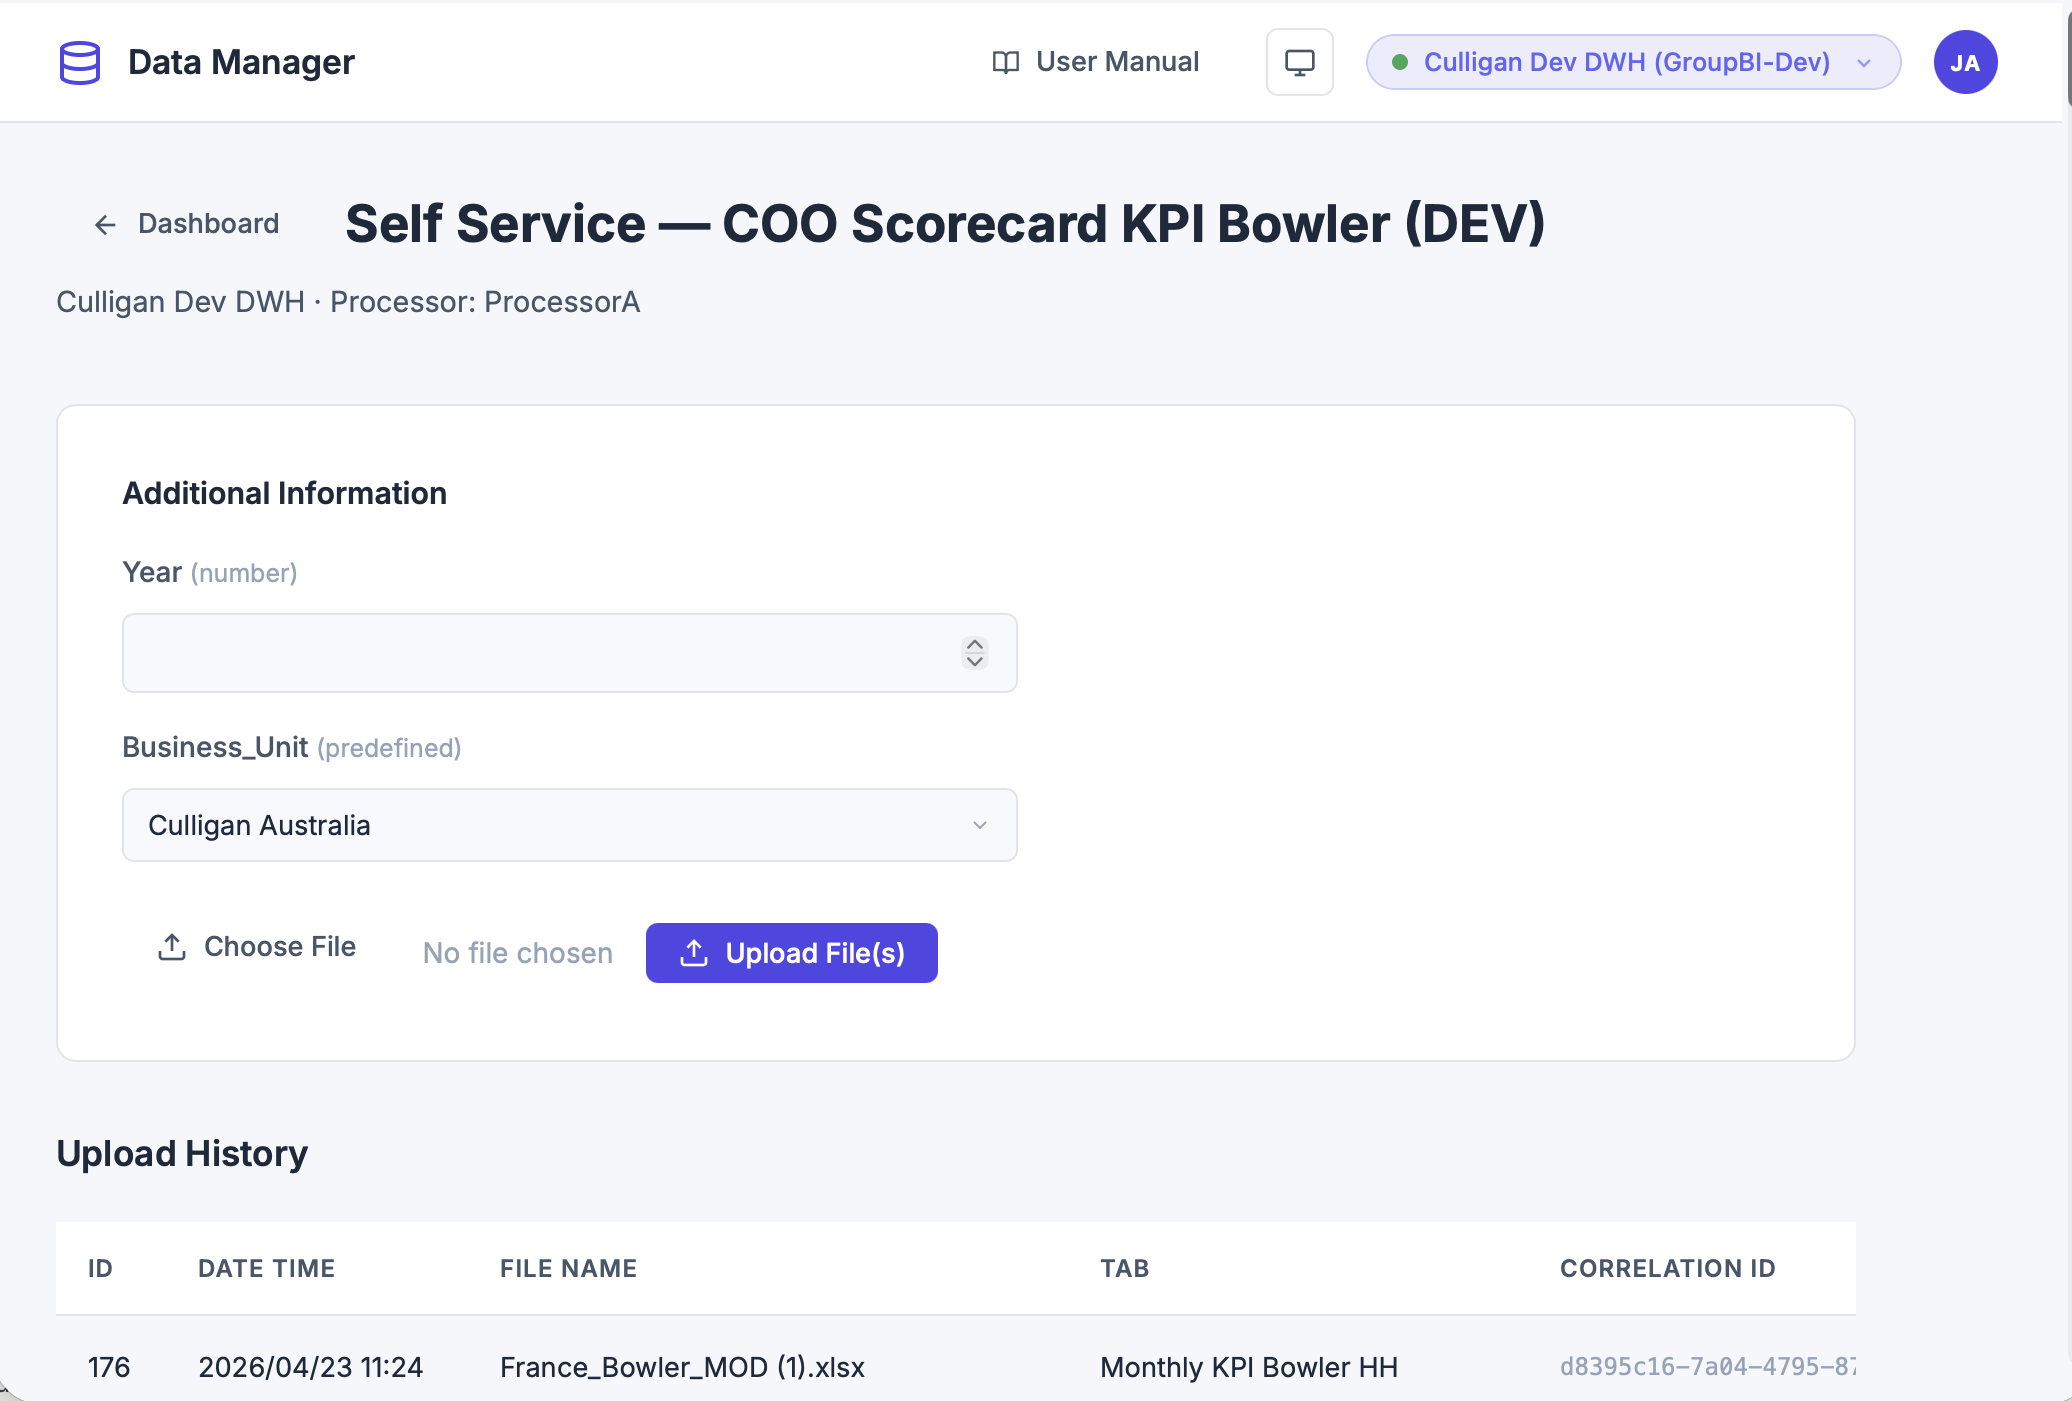 The upload form with metadata fields and file selection
3a. KPI Bowler Processor · ProcessorA
Single-Sheet Workbook
- Complete the common first steps above.
- The system parses KPI data from the workbook.
- If validation rules fail, you will see the validation error screen.
- If validation passes, a data preview table is shown with columns: Correlation ID, Mandatory, SDP Area, Segment, KPI, KPI Type (Target/Actual), Measure Type, Period, Value.
- An info banner shows: “Preview — N records will be imported into dbo.kpi_records.”
- Optionally click Download JSON to save a copy.
- Click Confirm import (N records) to insert the data.
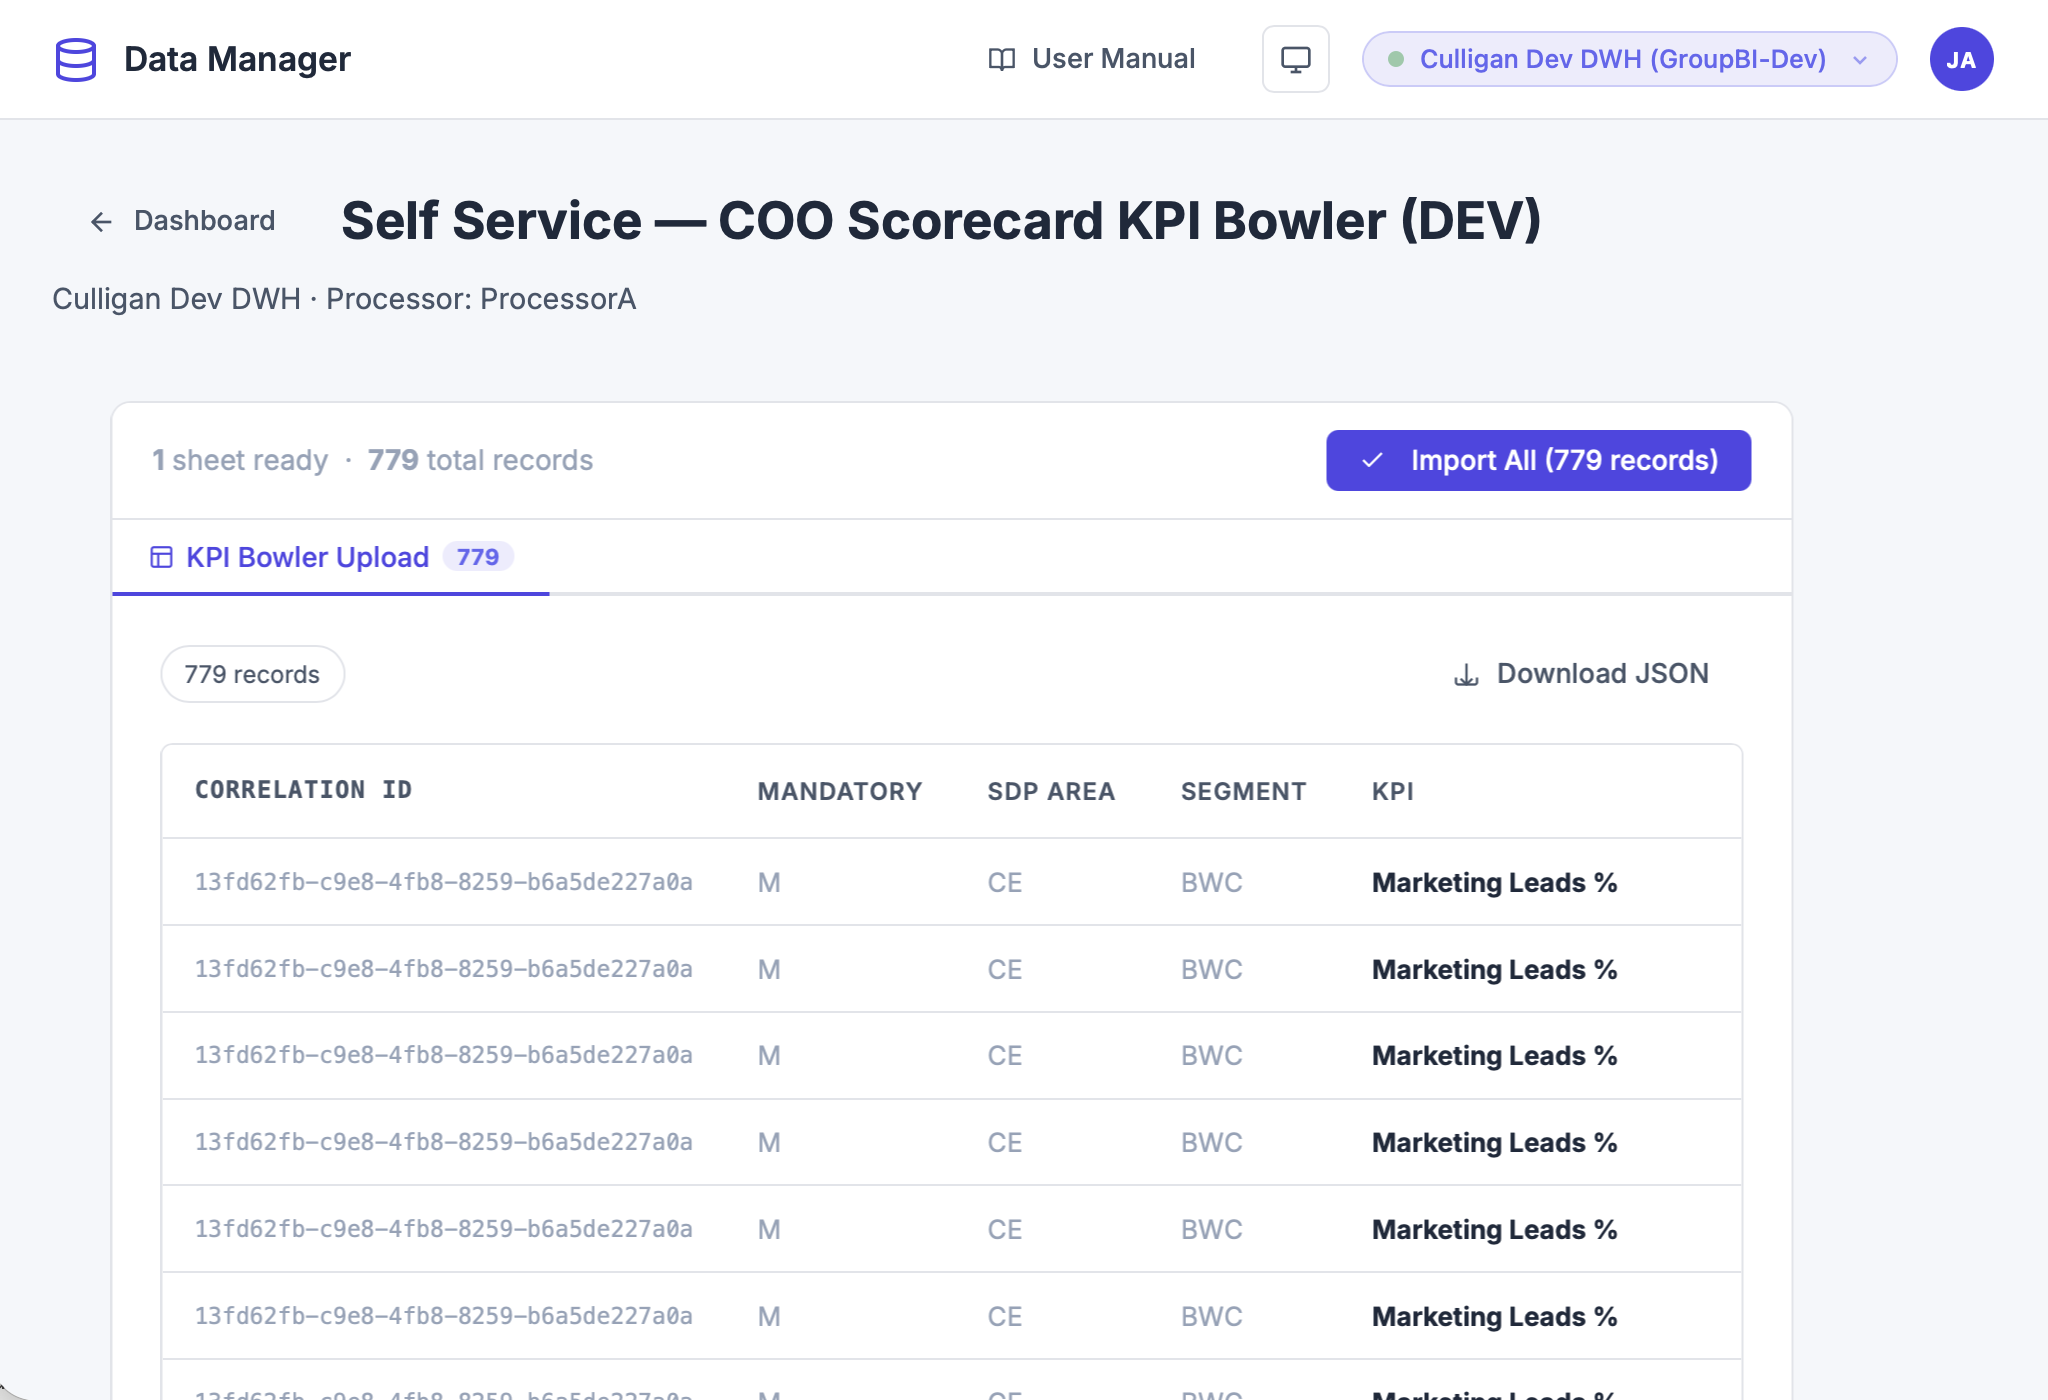 KPI Bowler data preview with confirmation button
Multi-Sheet Workbook
- After uploading, the Select Sheets screen lists all tabs.
- Tick the checkboxes next to the sheets you want to process.
- Click Process Selected Sheets.
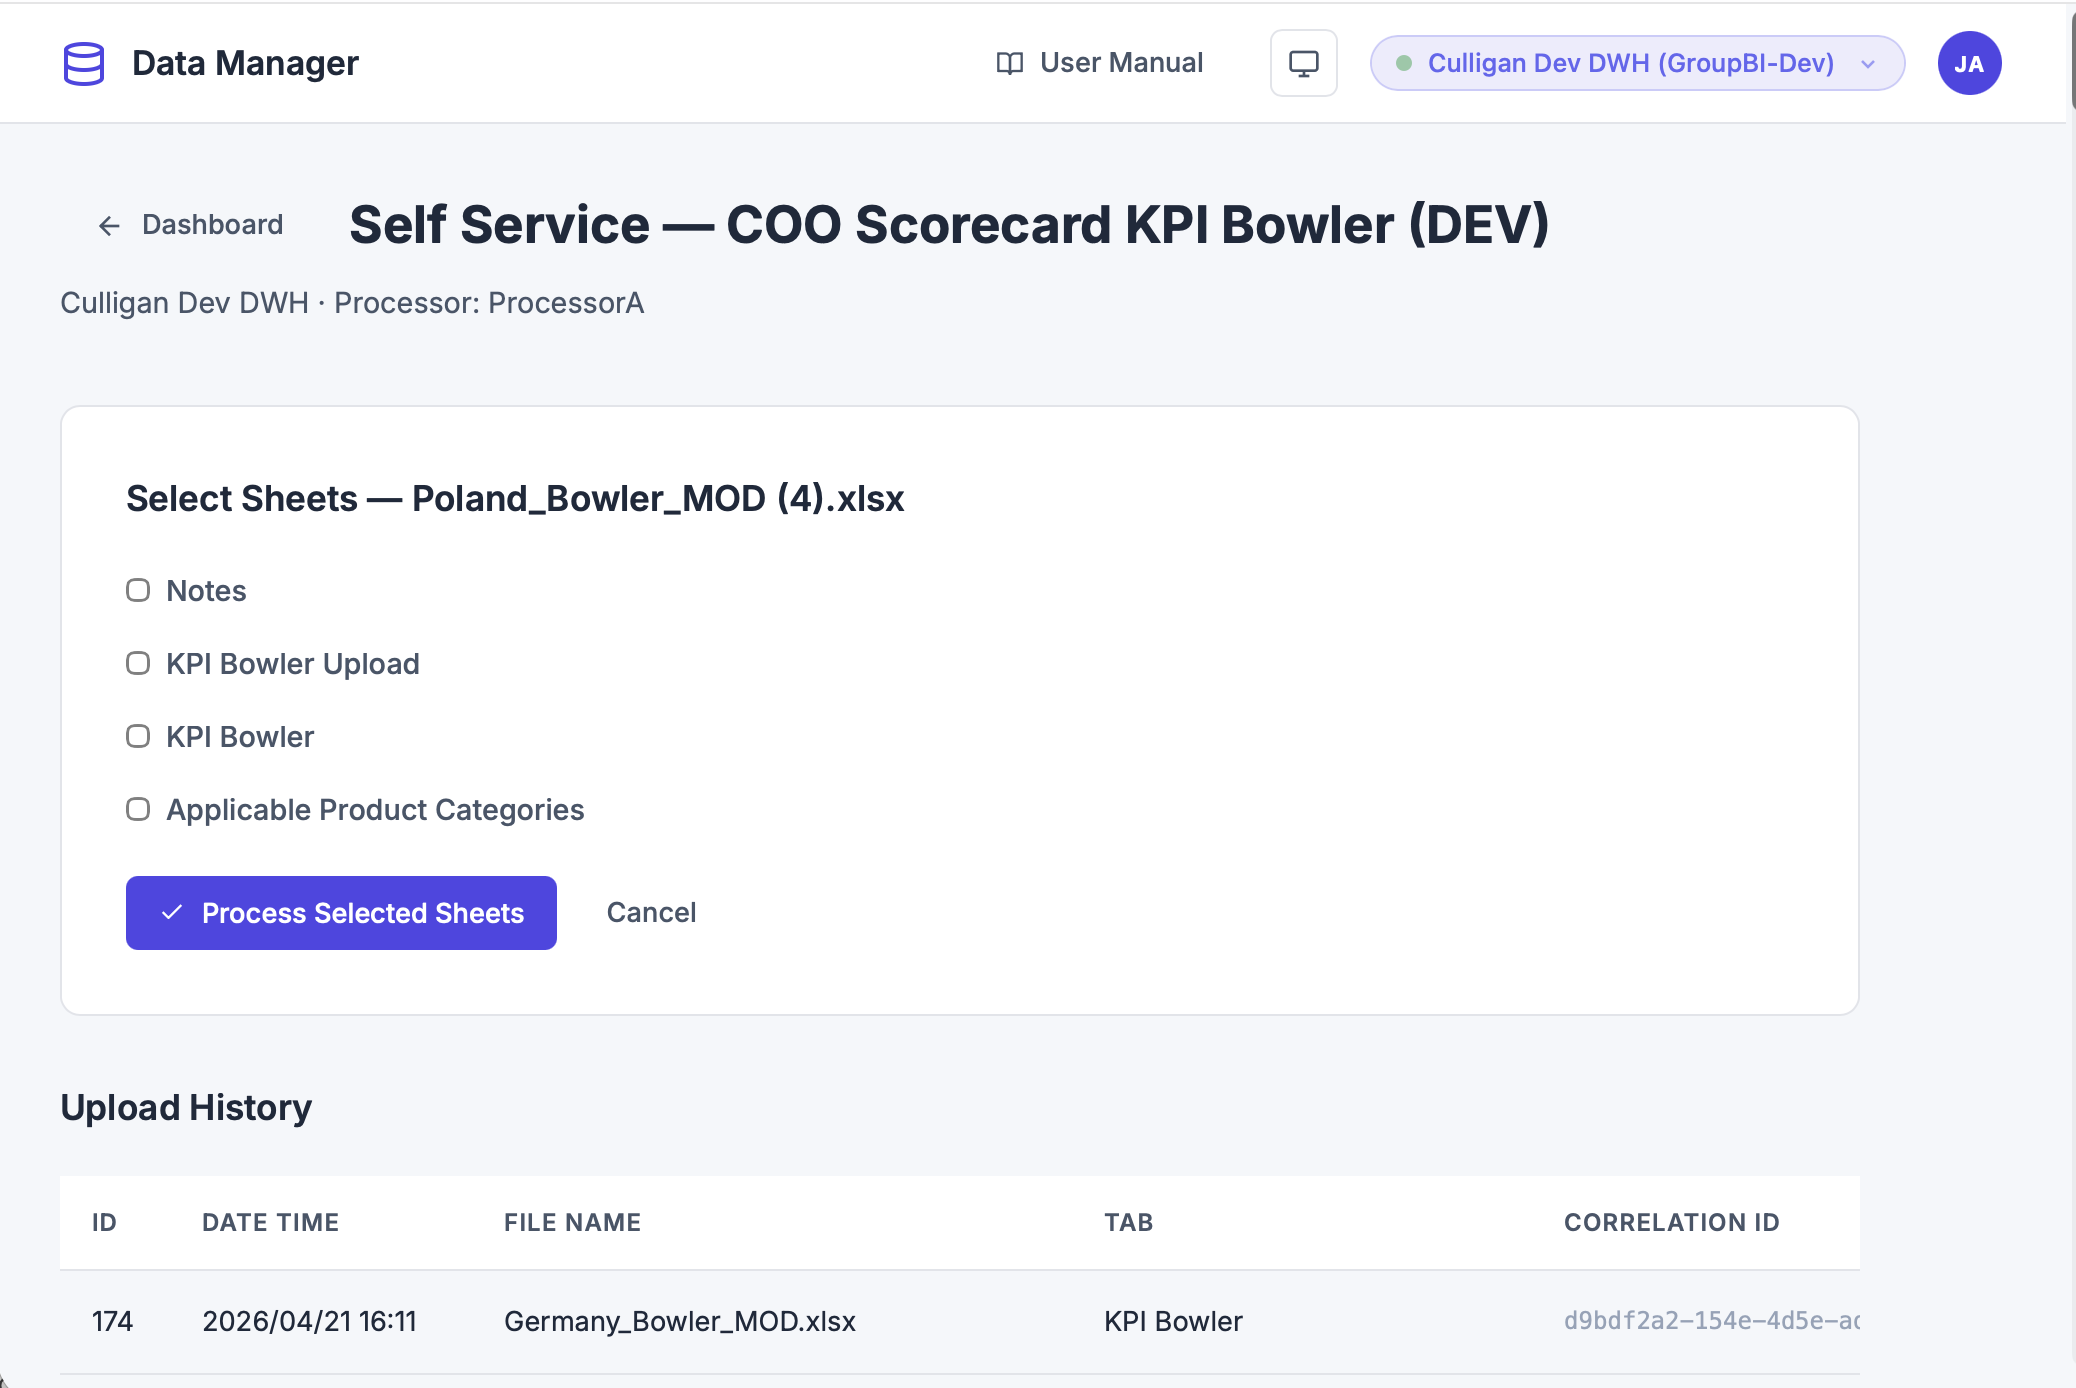 Select which sheets to process from a multi-sheet workbook
- A tabbed results view appears — one tab per sheet with record count badges.
- Review each tab, then click Import All (M records).
- The Import Complete screen lists each sheet with ✓ records inserted or ✗ error.
3b. Sources of Revenue Processor · ProcessorB
Single-Sheet Workbook
- Complete the common first steps.
- The system parses report data from the file.
- A preview table is shown with columns: Label, Lvl, Group, Period, Type (%, #, txt), Value, Raw, Cell.
- Info banner: “Preview — N records will be imported into dbo.report_data.”
- Optionally click Download JSON.
- Click Confirm import (N records).
Multi-Sheet Workbook
- The Select Sheets screen appears — tick sheets, click Process Selected Sheets.
- Review the tabbed results, then click Import All.
- The Import Complete screen shows per-sheet results.
3c. Organic Revenue Growth & Revenue Volumes Processor · ProcessorC
Single-Sheet Workbook
- Complete the common first steps.
- The system parses volume/growth data.
- Preview table columns: Year, Month, KPI, Region, Business Unit, LOB, Actual, Forecast, Trend (↑ Positive / ↓ Negative).
- Info banner: “Preview — N records will be imported.”
- Click Confirm import (N records).
Multi-Sheet Workbook
- Select sheets → Process Selected Sheets → review tabs → Import All.
- The Import Complete screen shows per-sheet results.
3d. HFM Account Mapping
This template type expects a structured .xlsx workbook. During upload, map workbook sheets to the three predefined HFM tabs:
| Predefined HFM Tab |
|---|
| HFM Chart of Accounts |
| HFM Custom 2 |
| HFM Custom 4 |
- Complete the common first steps. Only
.xlsxfiles are accepted. - Select which workbook sheet should be used for each predefined HFM tab.
- The selected sheets are parsed and shown in a tabbed results view.
- Click Import All (M records).
- The Import Complete screen lists each tab with results.
3e. Stored Procedures
This template does not involve file uploads. It executes pre-configured database stored procedures.
- Navigate to the template from the Dashboard.
- You will see a list of procedure cards with name, procedure reference, and status.
- Click Run All to execute all procedures sequentially.
- The Execution Status section shows live progress:
- • Pending → • Executing → • Completed (or • Failed)
- Once finished: “All procedures completed.”
4. Dealing with Validation Errors
If uploaded data fails validation rules, no data is imported. You will see:
Validation Failure Screen
A red-highlighted section with heading “Initial Validation: FAIL” and a list of error cards:
| Field | Description |
|---|---|
| Rule | The column/field that failed |
| Error Description | What went wrong |
| Line | Row number in your file |
| Value | The offending cell value |
| Tab | Sheet name (for multi-tab files) |
How to Recover
 Validation failure screen showing error details for each rule violation
- Read each error — note the rule, line number, and value.
- Open your source file and correct the flagged rows.
- Click Upload Again to return to the upload form.
- Re-upload the corrected file.
5. Success Messages
Single-Sheet Processor Uploads
A green success banner appears:
- ✓ N records inserted into dbo.kpi_records. (KPI Bowler)
- ✓ N records inserted into dbo.report_data. (Sources of Revenue)
- ✓ N records inserted. (Organic Revenue Growth)
 Success banner after a successful KPI import
Multi-Sheet Imports
A summary titled “Import Complete — filename.xlsx” lists each sheet with ✓ records inserted or ✗ error message.
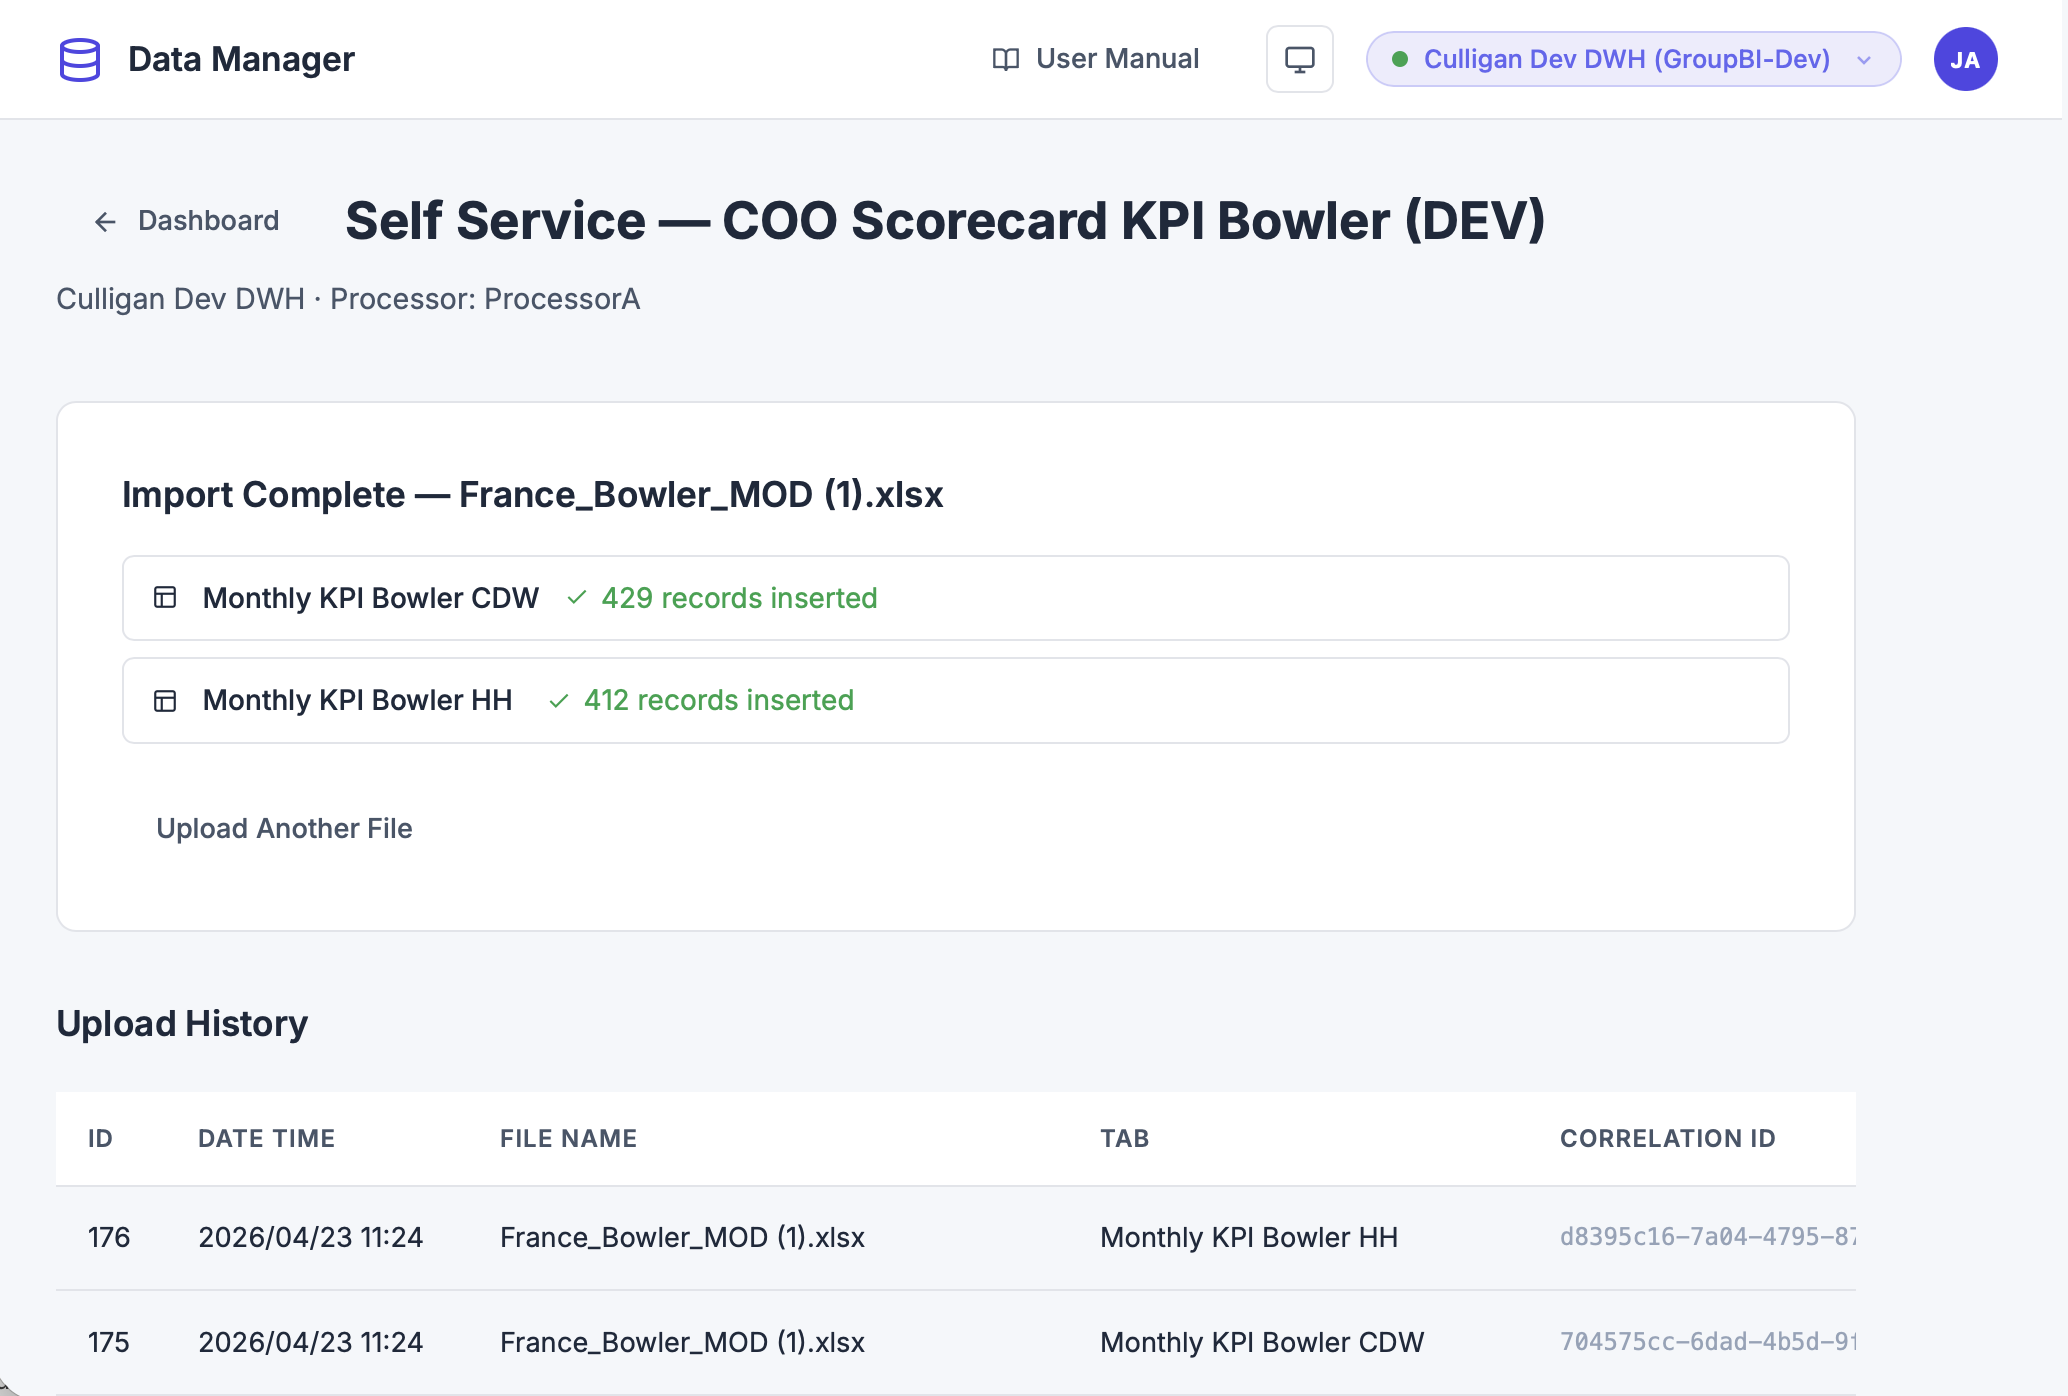 Multi-sheet import results — per-sheet outcome summary
Non-Processor Uploads
A green banner: ✓ “File uploaded and recorded successfully.”
6. Upload History
Every template page (except Stored Procedures) includes an Upload History table showing past uploads:
| Column | Description |
|---|---|
| ID | Upload record ID |
| Date Time | When the upload was performed |
| File Name | Name of the uploaded file |
| TAB | Which sheet was imported |
| Correlation ID | Unique identifier for the upload batch |
| Actions | Delete the record · Edit Metadata |